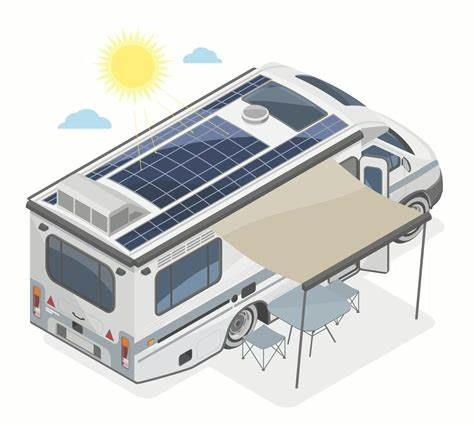
Solar power is revolutionizing the way RV owners camp, offering a sustainable and cost-effective way to keep batteries charged while enjoying the freedom of the open road. Whether you’re a weekend warrior or a full-time RVer, installing solar panels on your RV roof can provide the energy you need to run lights, appliances, and gadgets without relying on noisy generators or crowded campgrounds. This guide will walk you through the entire process—from choosing the right solar panel to connecting it to your RV’s battery—so you can confidently tackle this rewarding DIY project.
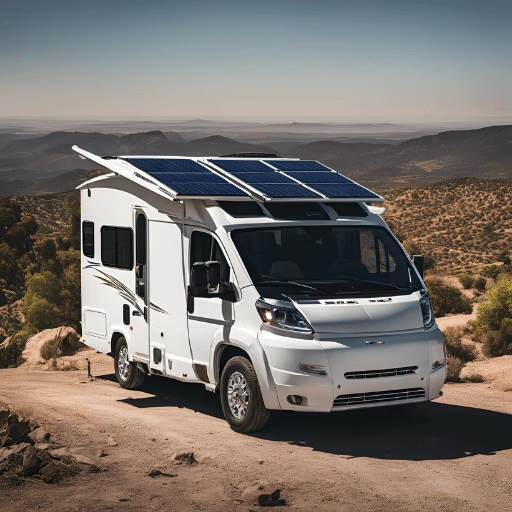
Why Solar Power is a Game-Changer for RVs
Before we dive into the installation, let’s quickly cover why solar panels are a must-have for RV enthusiasts:
- Energy Independence: Solar panels allow you to boondock (camp off-grid) for longer periods without worrying about draining your batteries.
- Eco-Friendly: Harnessing the sun’s energy reduces your carbon footprint and reliance on fossil fuels.
- Cost Savings: Once installed, solar power is free, and it can significantly reduce or eliminate the need for campground hookups or generator fuel.
- Quiet Operation: Unlike generators, solar panels operate silently, preserving the peace of your surroundings.
Now, let’s get started on bringing solar power to your RV.
Tools and Materials You’ll Need
Gathering the right tools and materials is the first step to a successful installation. Here’s a comprehensive list:

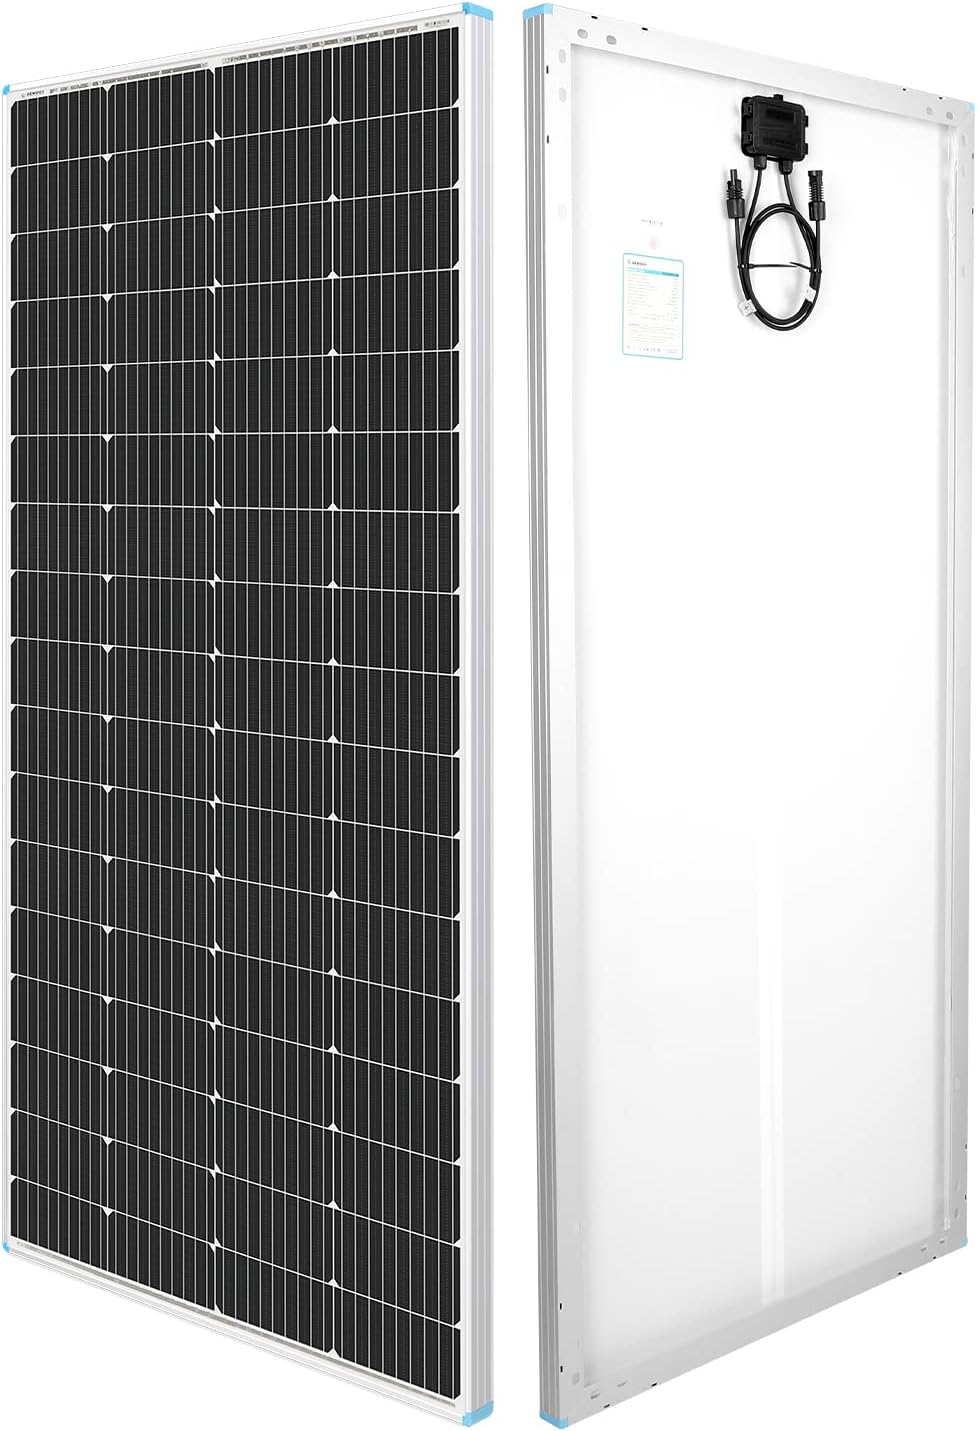
- Solar Panel Kit: Choose a kit that includes the panel, mounting brackets, and cables. For most RVs, a 100W to 200W panel is sufficient for basic needs.
- Charge Controller: This regulates the voltage and current from the solar panel to prevent overcharging your battery. A 20A or 30A controller is typically adequate.
- Battery: Ensure your RV’s battery is compatible with solar charging. Deep-cycle batteries (AGM or lithium) are ideal.
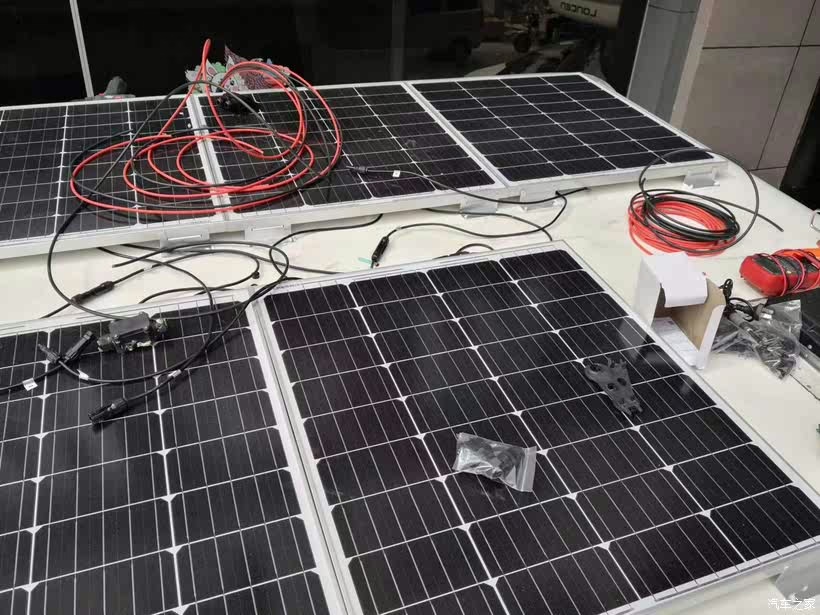
- Wiring and Connectors: Use weatherproof, UV-resistant cables (10-12 AWG) and MC4 connectors for secure connections.
- Mounting Hardware: Brackets, screws, and sealant (like Dicor or Sikaflex) to secure the panel to the roof.
- Drill and Bits: For creating holes to run wires and mount brackets.
- Wire Strippers and Crimpers: For preparing and securing electrical connections.
- Multimeter: To test voltage and ensure proper connections.
- Sealant or Caulk: For weatherproofing any holes drilled in the roof.
- Weatherproof Box: If mounting the charge controller outside, ensure it’s protected from the elements.
- Safety Gear: Gloves, safety glasses, and a ladder for roof access.
| Modle | Link | ||||||
|---|---|---|---|---|---|---|---|
 | Solar Panel Kit | 12 volt | 200 W | Monocrystalline | Solar Connectors | IP65 All Weather Protection | Amazon |
 | Charge Controller | 12/24 volt | 30 A | MPPT provides 4-stage charging | Sealed, Gel, AGM, and Flooded battery | IP67 Waterproof Design | Amazon |
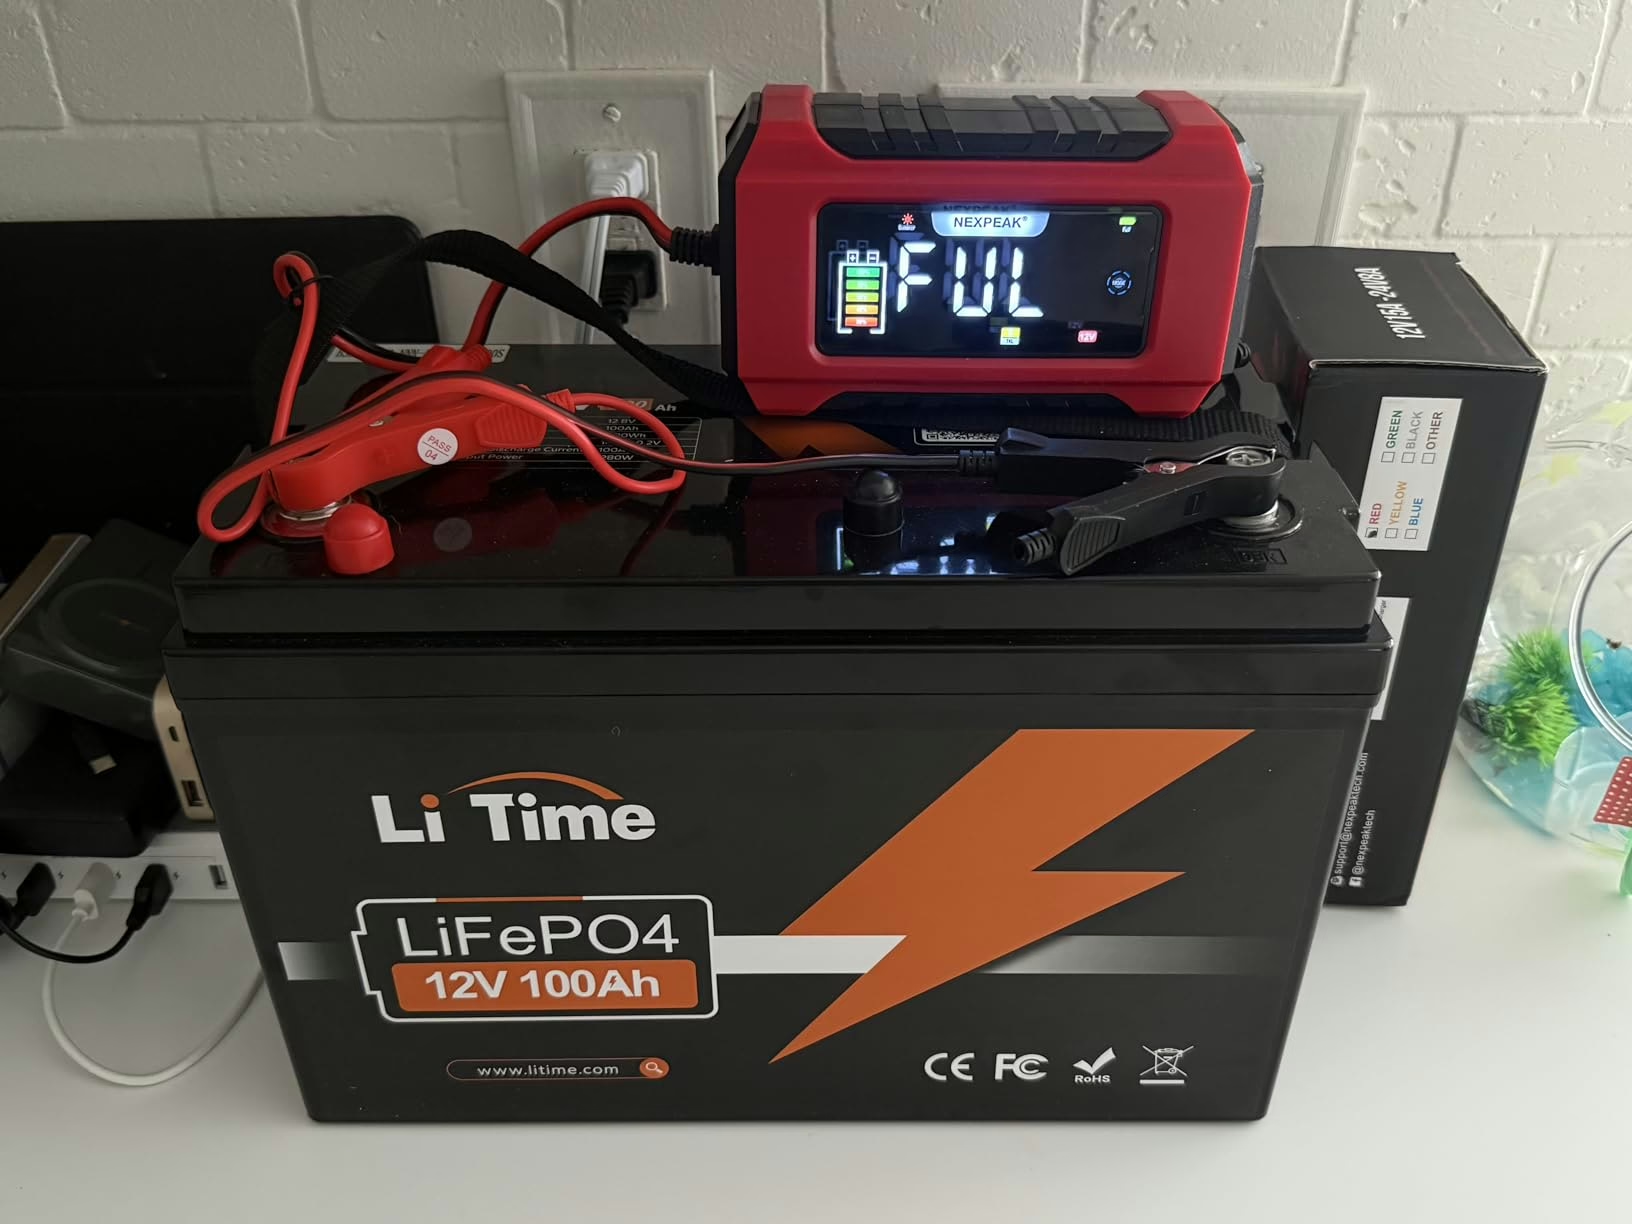 | Battery | 12 volt | 100 A | LiFePO4 Battery | 15000 Deep Cycles | 95%* Efficiency | Amazon |
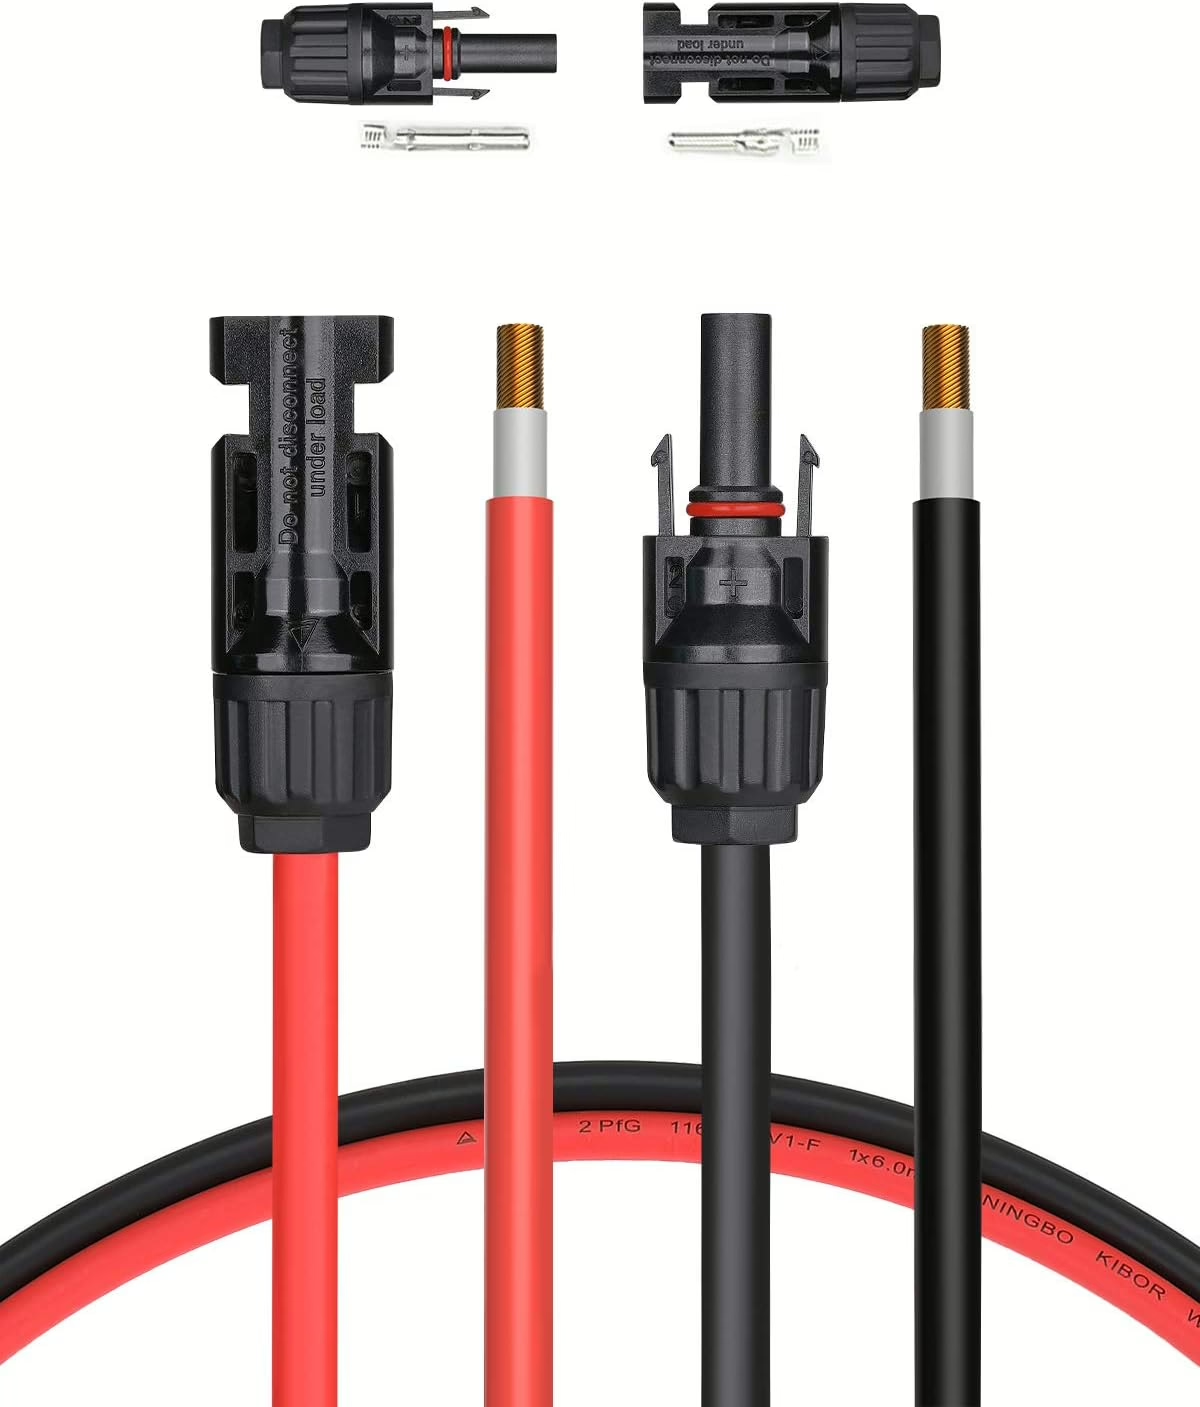 | Wiring and Connectors | 12 AWG | 40 foot | Extra Connectors Included | MC4 Connectors | Weatherproof Wiring | Amazon |
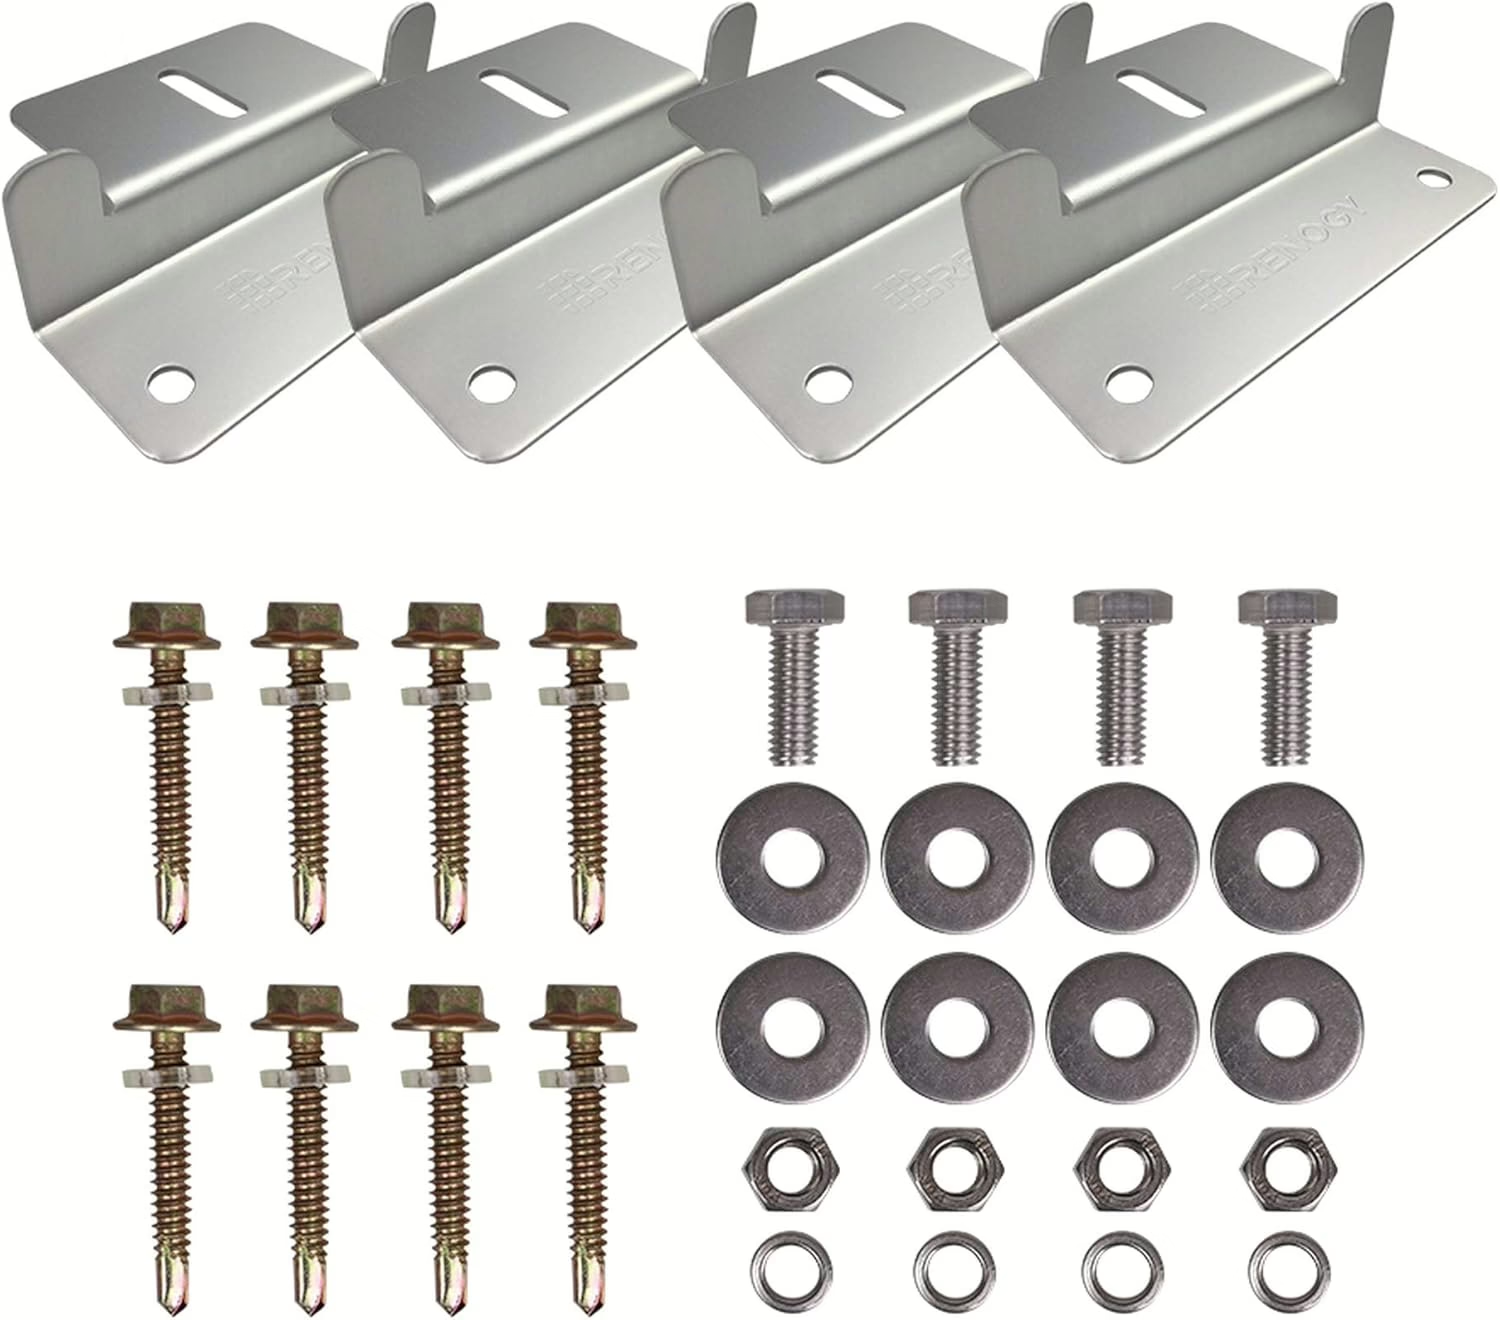 | Mounting Hardware | Aluminum | M6 Hardware | Self Drilling Cap Screws | Amazon | ||
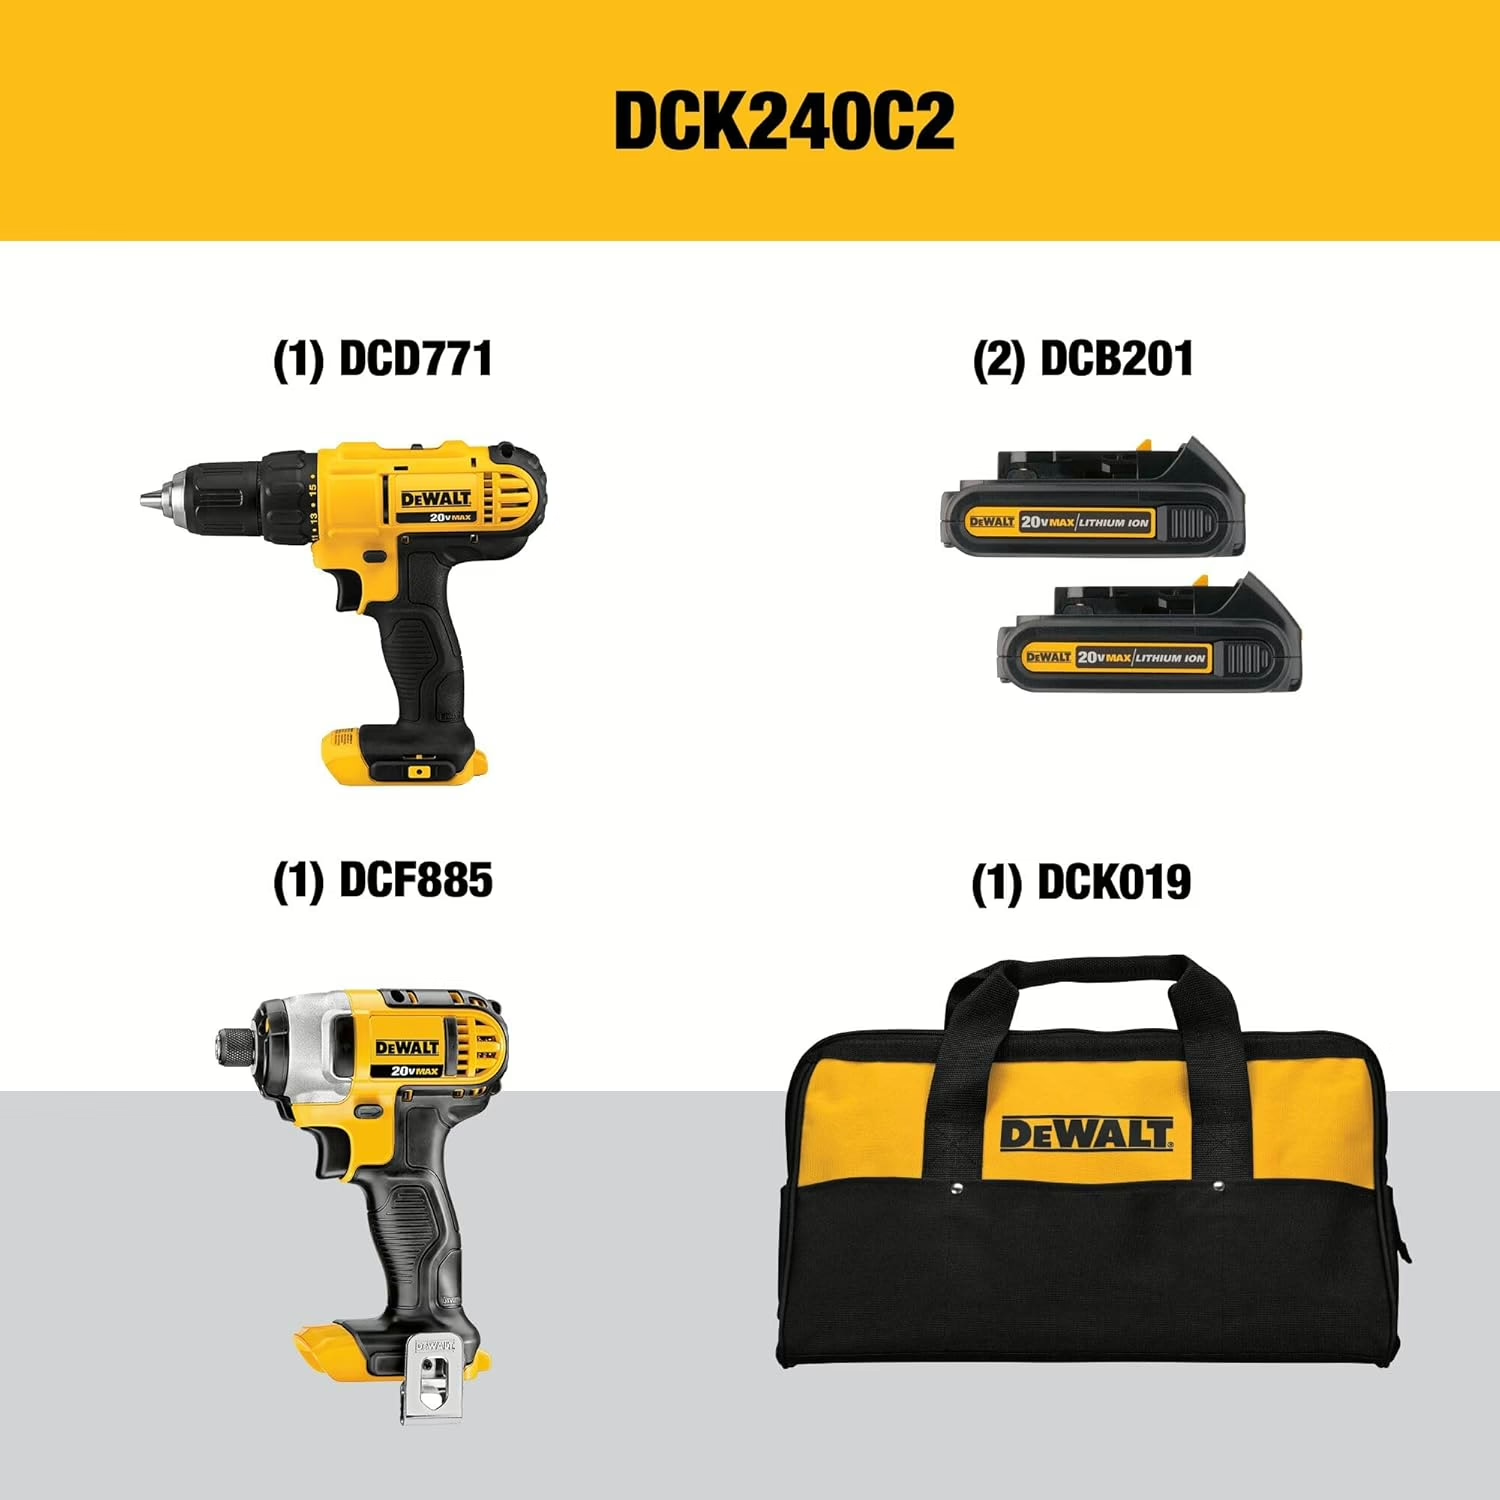 | Drill and Bits | 20 V | 2 Lithium Ion batteries required | 1/4-inch hex chuck accepts 1-inch bit tips | 1/2-inch single sleeve ratcheting chuck | Amazon | |
| Wire Strippers and Crimpers | 10 AWG | 5 foot (10 foot available) | Tinned Copper | 3/8 & 5/16 inch Battery Terminals | Weatherproof Wiring | Amazon Amazon Amazon |
|
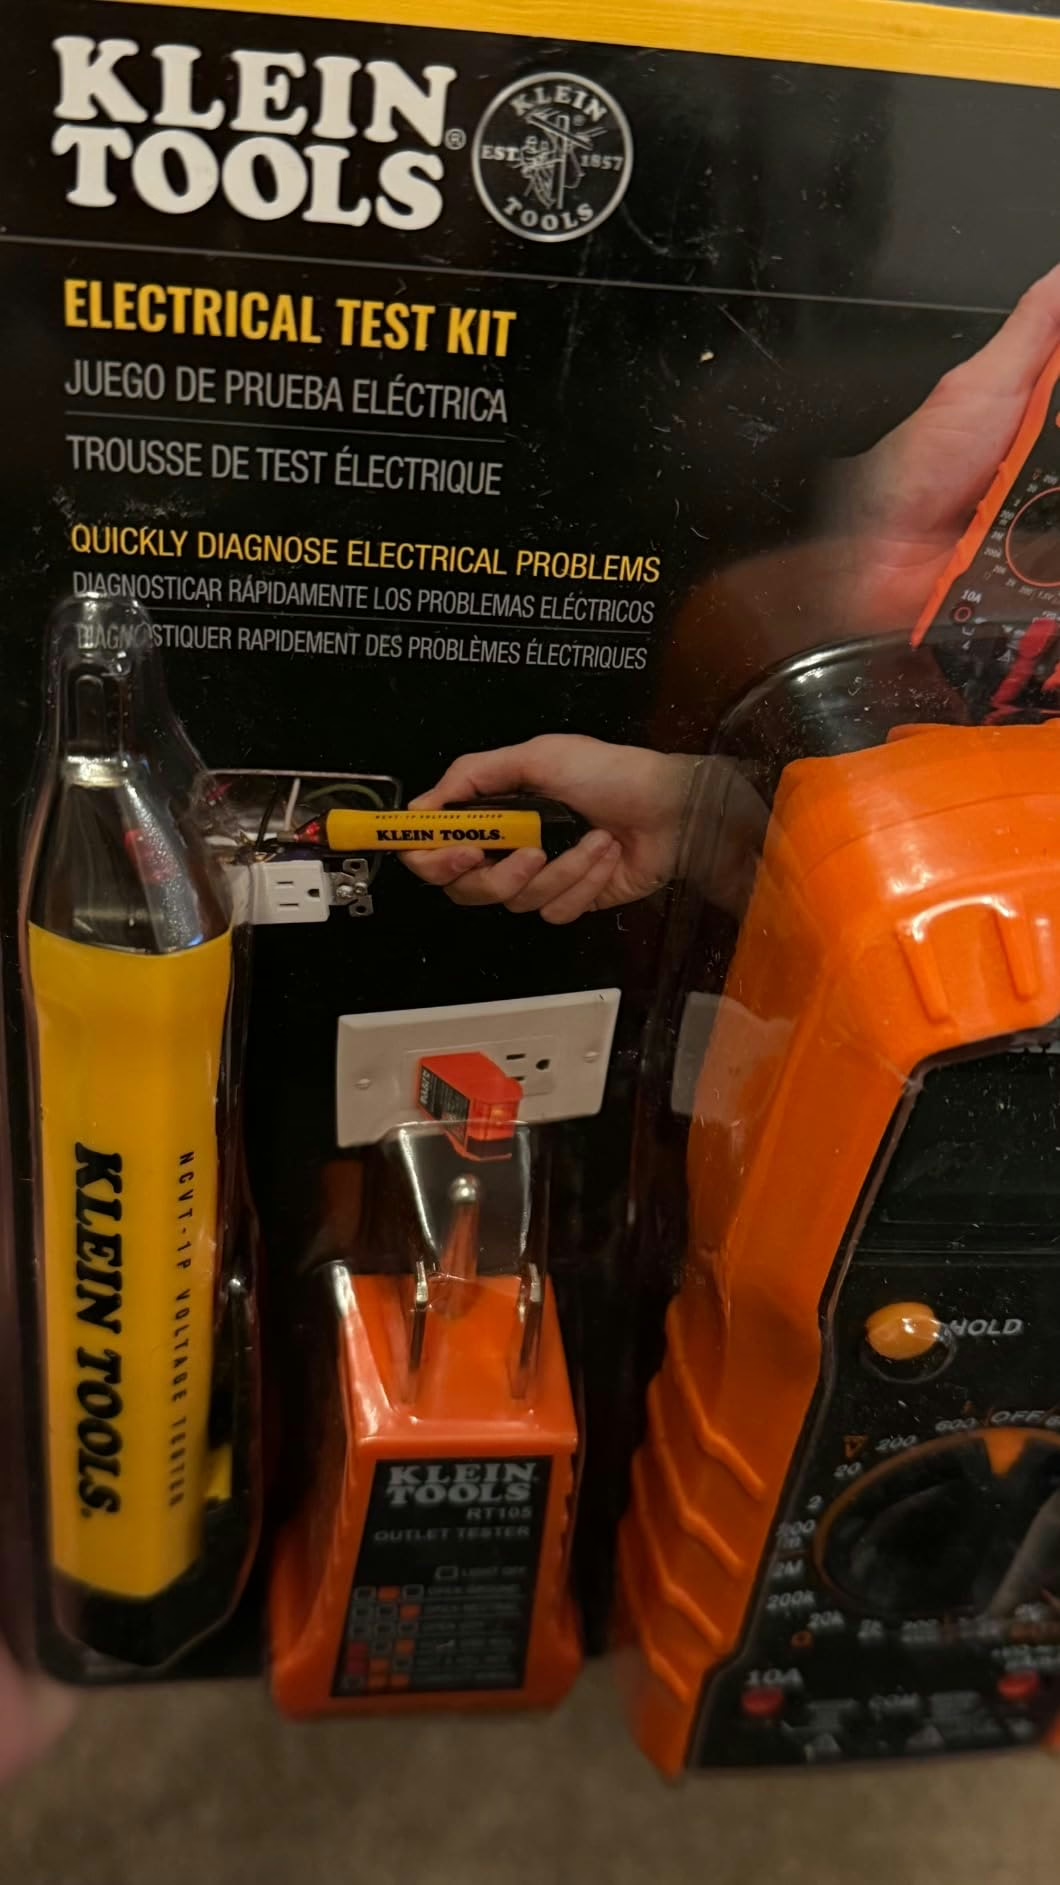 | Multimeter | 10A DC current | audible indicators for testing continuity | detecting voltage 50 to 1000 VAC | Measures up to 600V AC/DC voltage | Amazon | |
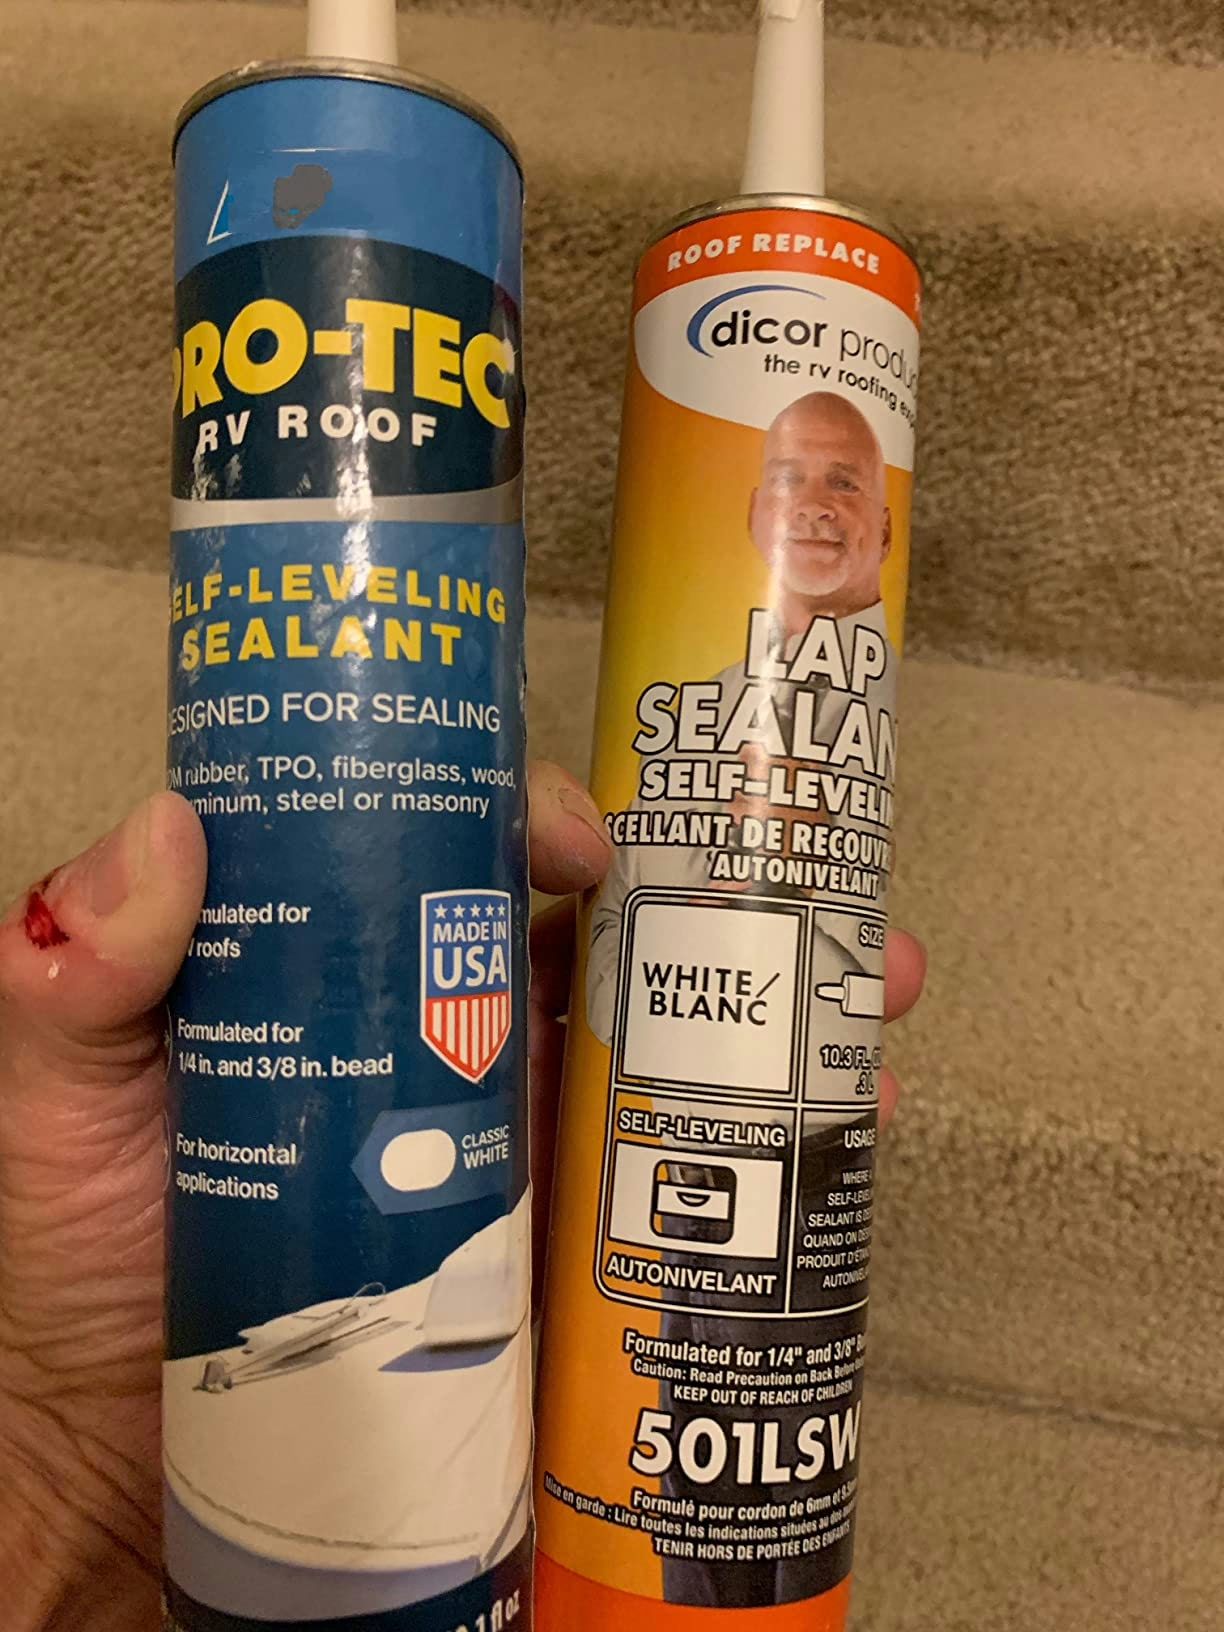 | Sealant or Caulk | White | 10.3 oz | EPDM, TPO, PVC Roof Compatible | Waterproofs | UV Resistant | Amazon Amazon |
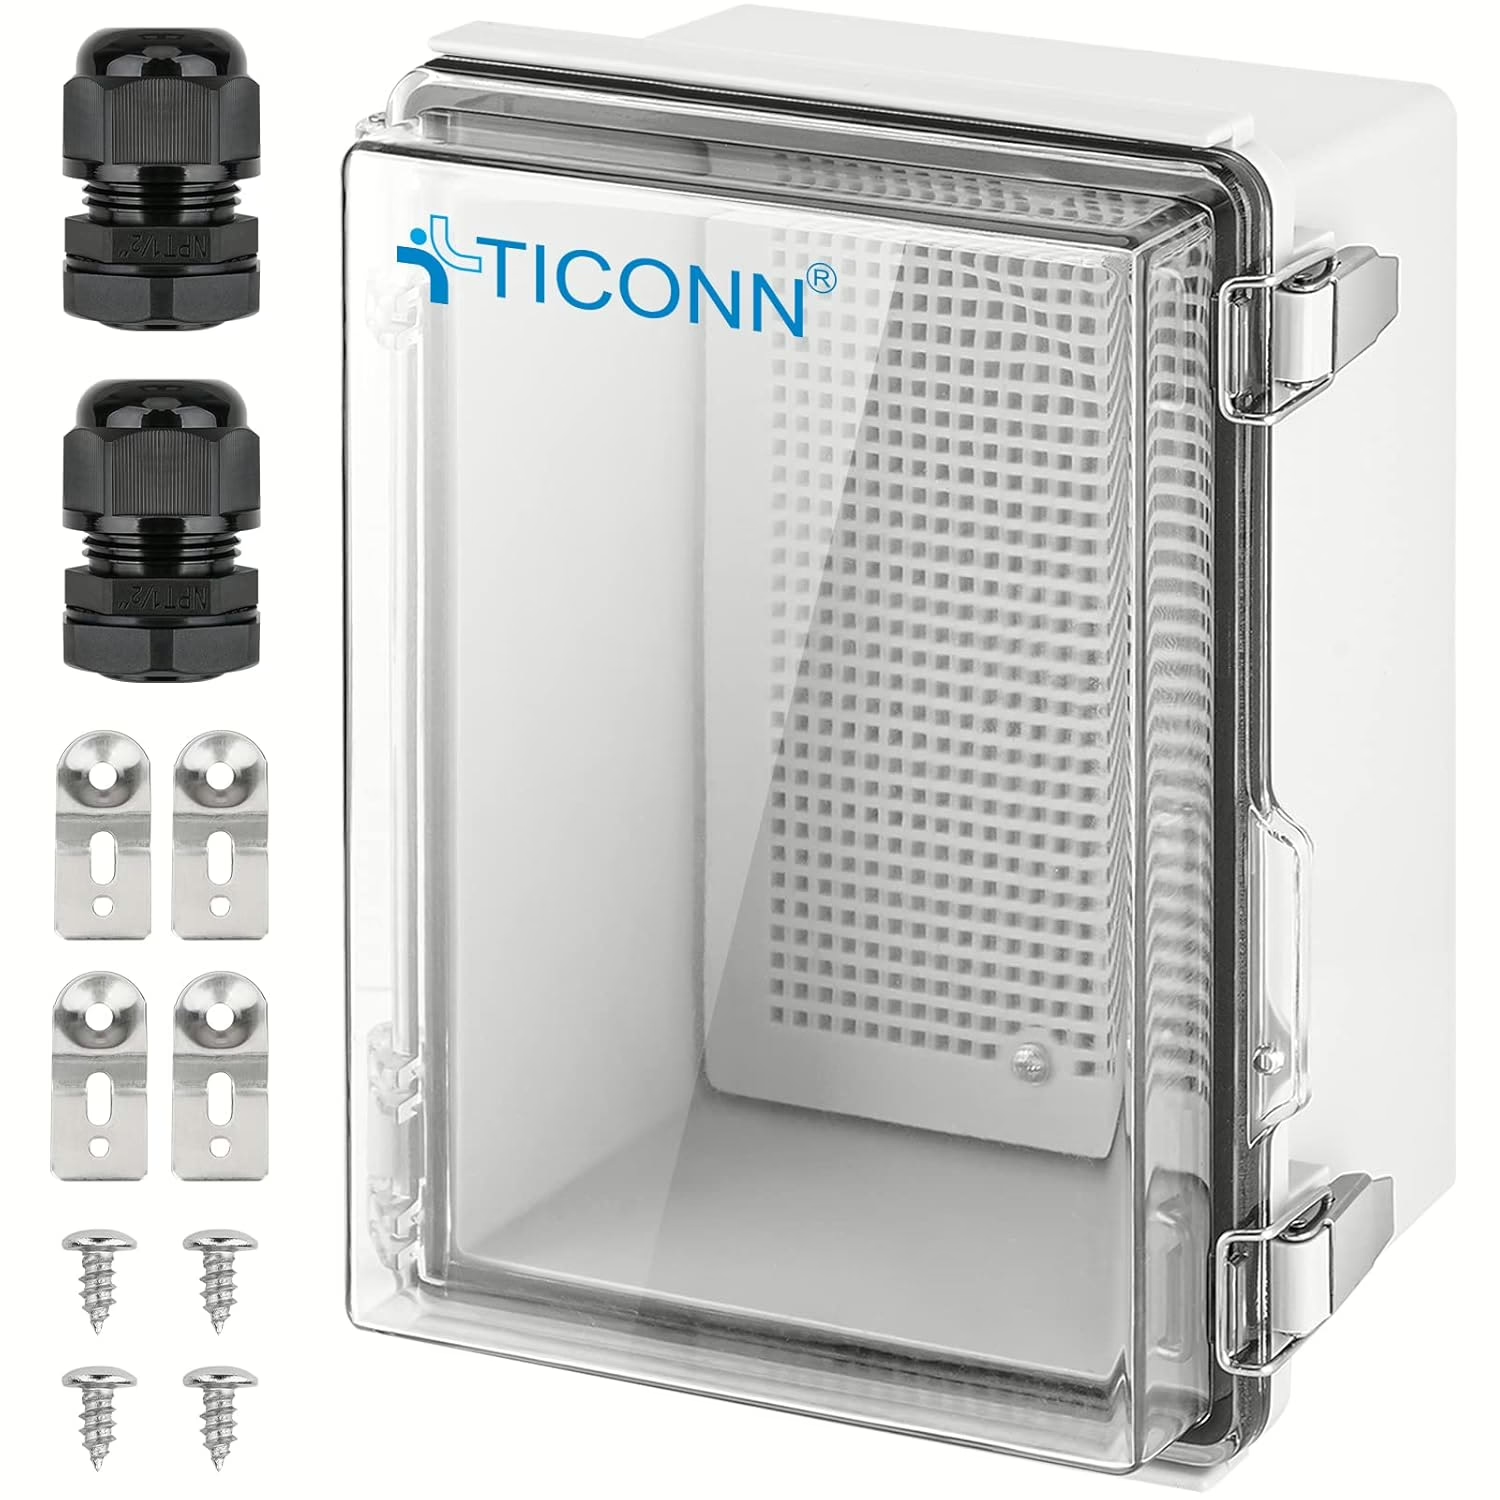 | Weatherproof Box | Polystyrene Plastic | Indoor/Outdoor Use | IP67 ABS Plastic Enclosure | Amazon Amazon |
||
| Safety Gear | Gloves, safety glasses, and a ladder for roof access. | Amazon Amazon |
Pro Tip: Invest in a solar panel kit from a reputable brand like Renogy or Go Power!. These kits often include all necessary components and detailed instructions, making the process smoother for beginners.
Step-by-Step Installation Guide
Follow these steps to install your solar panel and connect it to your RV’s battery. Each step includes safety tips and common pitfalls to avoid.
Step 1: Choose the Right Solar Panel for Your RV
- Size and Wattage: Start by determining your power needs. A 100W panel can charge a single battery for basic use (lights, water pump), while larger systems (300W+) are better for running appliances like refrigerators or microwaves.
- Panel Type: Rigid panels are durable and efficient but heavier. Flexible panels are lightweight and ideal for curved roofs but may have a shorter lifespan.
- Roof Space: Measure your RV’s roof to ensure there’s enough space for the panel(s), avoiding areas with vents, antennas, or other obstructions.
Step 2: Plan the Layout and Wiring Path
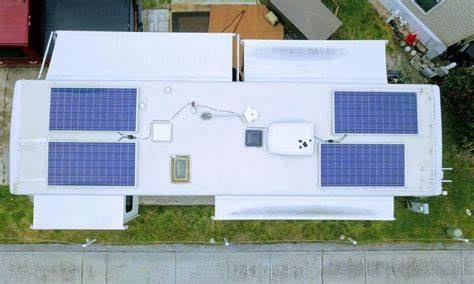
- Panel Placement: Position the panel where it will receive maximum sunlight. For most RVs, this is the center or front of the roof.
- Wiring Route: Decide how you’ll run the wires from the panel to the battery. Common paths include through a refrigerator vent, plumbing entry, or by drilling a small hole (sealed with caulk).
- Charge Controller Location: Mount the controller as close to the battery as possible to minimize voltage drop. If mounting outside, use a weatherproof box.
Safety Tip: Always disconnect your RV’s battery before starting any electrical work to avoid shocks or short circuits.
Step 3: Mount the Solar Panel on the Roof
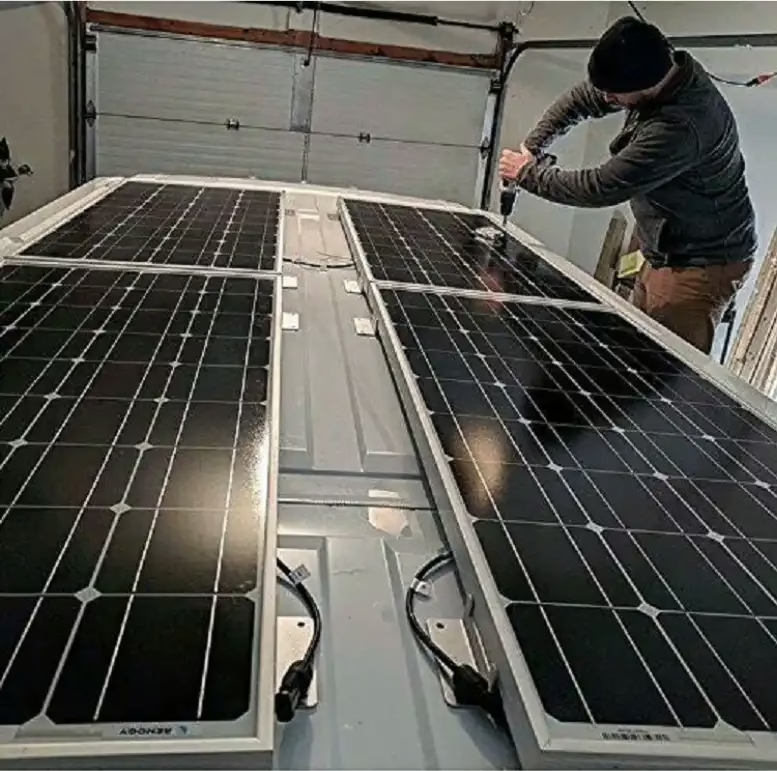
- Clean the Roof: Ensure the mounting area is clean and dry.
- Attach Mounting Brackets: Secure the brackets to the panel first, then position the panel on the roof. Mark the spots where you’ll drill for screws.
- Drill and Seal: Drill holes for the mounting screws, apply sealant under each bracket, and secure the panel. Add extra sealant around the screws to prevent leaks.
- Optional Tilting Mounts: If you want to angle the panel for better sun exposure, use adjustable mounts. These are great for stationary camping but must be lowered while driving.
Common Mistake: Skipping the sealant or using the wrong type can lead to roof leaks. Always use RV-specific sealant like Dicor for rubber roofs or Sikaflex for metal/fiberglass.
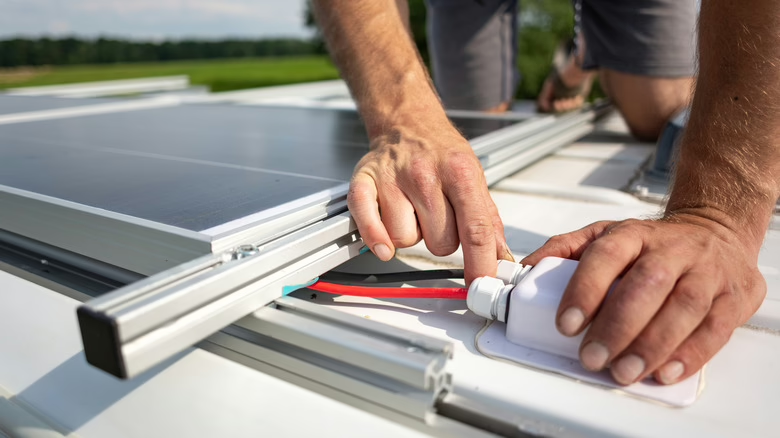
Step 4: Run the Wiring
- Choose the Entry Point: If using an existing vent or plumbing hole, ensure it’s large enough for the wires. If drilling, make the hole just big enough for the wires and seal it thoroughly.
- Connect the Panel: Attach the positive (red) and negative (black) wires from the panel using MC4 connectors.
- Run Wires to the Charge Controller: Secure the wires along the roof with clips or adhesive mounts to prevent them from flapping in the wind.
Pro Tip: Label your wires with tape to avoid confusion during connections. Red for positive, black for negative.
Step 5: Install the Charge Controller
- Mount the Controller: Secure it in a protected area, ideally inside a compartment near the battery.
- Connect to the Battery First: Always connect the charge controller to the battery before connecting it to the solar panel. This prevents damage to the controller.
- Attach the positive wire from the controller to the battery’s positive terminal.
- Attach the negative wire to the battery’s negative terminal.
- Connect to the Solar Panel: Once the battery is connected, attach the wires from the solar panel to the controller’s input terminals.
Safety Tip: Use a fuse between the charge controller and the battery for added protection. A 30A fuse is standard for most RV setups.
Step 6: Test the System
- Check Voltage: Use a multimeter to ensure the solar panel is producing voltage (typically 18-22V for a 12V panel).
- Monitor the Charge Controller: Ensure it’s displaying the correct battery voltage and showing that it’s receiving power from the panel.
- Verify Connections: Double-check all connections for tightness and correct polarity.
Common Mistake: Reversing the polarity (connecting positive to negative) can damage the charge controller or battery. Always triple-check your connections.
Troubleshooting Common Issues
Even with careful installation, you might encounter a few hiccups. Here are some common issues and how to fix them:
- Panel Not Charging: Check for loose connections, ensure the panel is clean, and verify that the charge controller is set to the correct battery type.
- Low Power Output: Make sure the panel is positioned for maximum sunlight and that there are no shadows from roof obstructions.
- Battery Not Holding Charge: This could be a sign of an old or faulty battery. Test the battery’s health with a multimeter or replace it if necessary.
- Leaks Around Mounting Points: Reapply sealant around the brackets or wire entry points to prevent water damage.
Maximizing Your Solar Power System
To get the most out of your new solar setup:
- Add More Panels: If you find you need more power, you can expand your system by adding additional panels (ensure your charge controller can handle the extra load).
- Use Energy-Efficient Appliances: LED lights, low-power fans, and efficient refrigerators will help you conserve energy.
- Monitor Usage: Install a battery monitor to track your energy consumption and ensure you’re not draining the battery too quickly.
Conclusion: Embrace the Freedom of Solar Power
Installing solar panels on your RV is a rewarding project that pays off in spades. Not only will you enjoy the freedom of off-grid camping, but you’ll also reduce your environmental impact and save money in the long run. By following this guide, you’ve taken a significant step toward energy independence. So, grab your tools, head to the roof, and let the sun power your next adventure!
